StarAI Arm Robotic Arm ROS2 MoveIt2 Guide
1. Environment Dependencies
- Ubuntu 22.04.5 LTS (Jammy)
- ROS2 Humble
1.1 Install ROS2 Humble
ROS2 Humble Installation Guide
1.2 Install MoveIt2
sudo apt install ros-humble-moveit*
1.3 Install the Servo SDK Library
sudo pip install pyserial
sudo pip install fashionstar-uart-sdk
1.4 Clone the star-arm-moveit2 Packages
cd ~/
git clone https://github.com/servodevelop/star-arm-moveit2.git
cd ~/star-arm-moveit2
colcon build
echo "source ~/star-arm-moveit2/install/setup.bash" >> ~/.bashrc
source ~/.bashrc
2. MoveIt2
2.1 Using the Virtual Robotic Arm
This mode starts only the MoveIt2 simulated planning environment and does not connect to real hardware. It can be used to verify joint motion, path planning, and end-effector pose interaction.
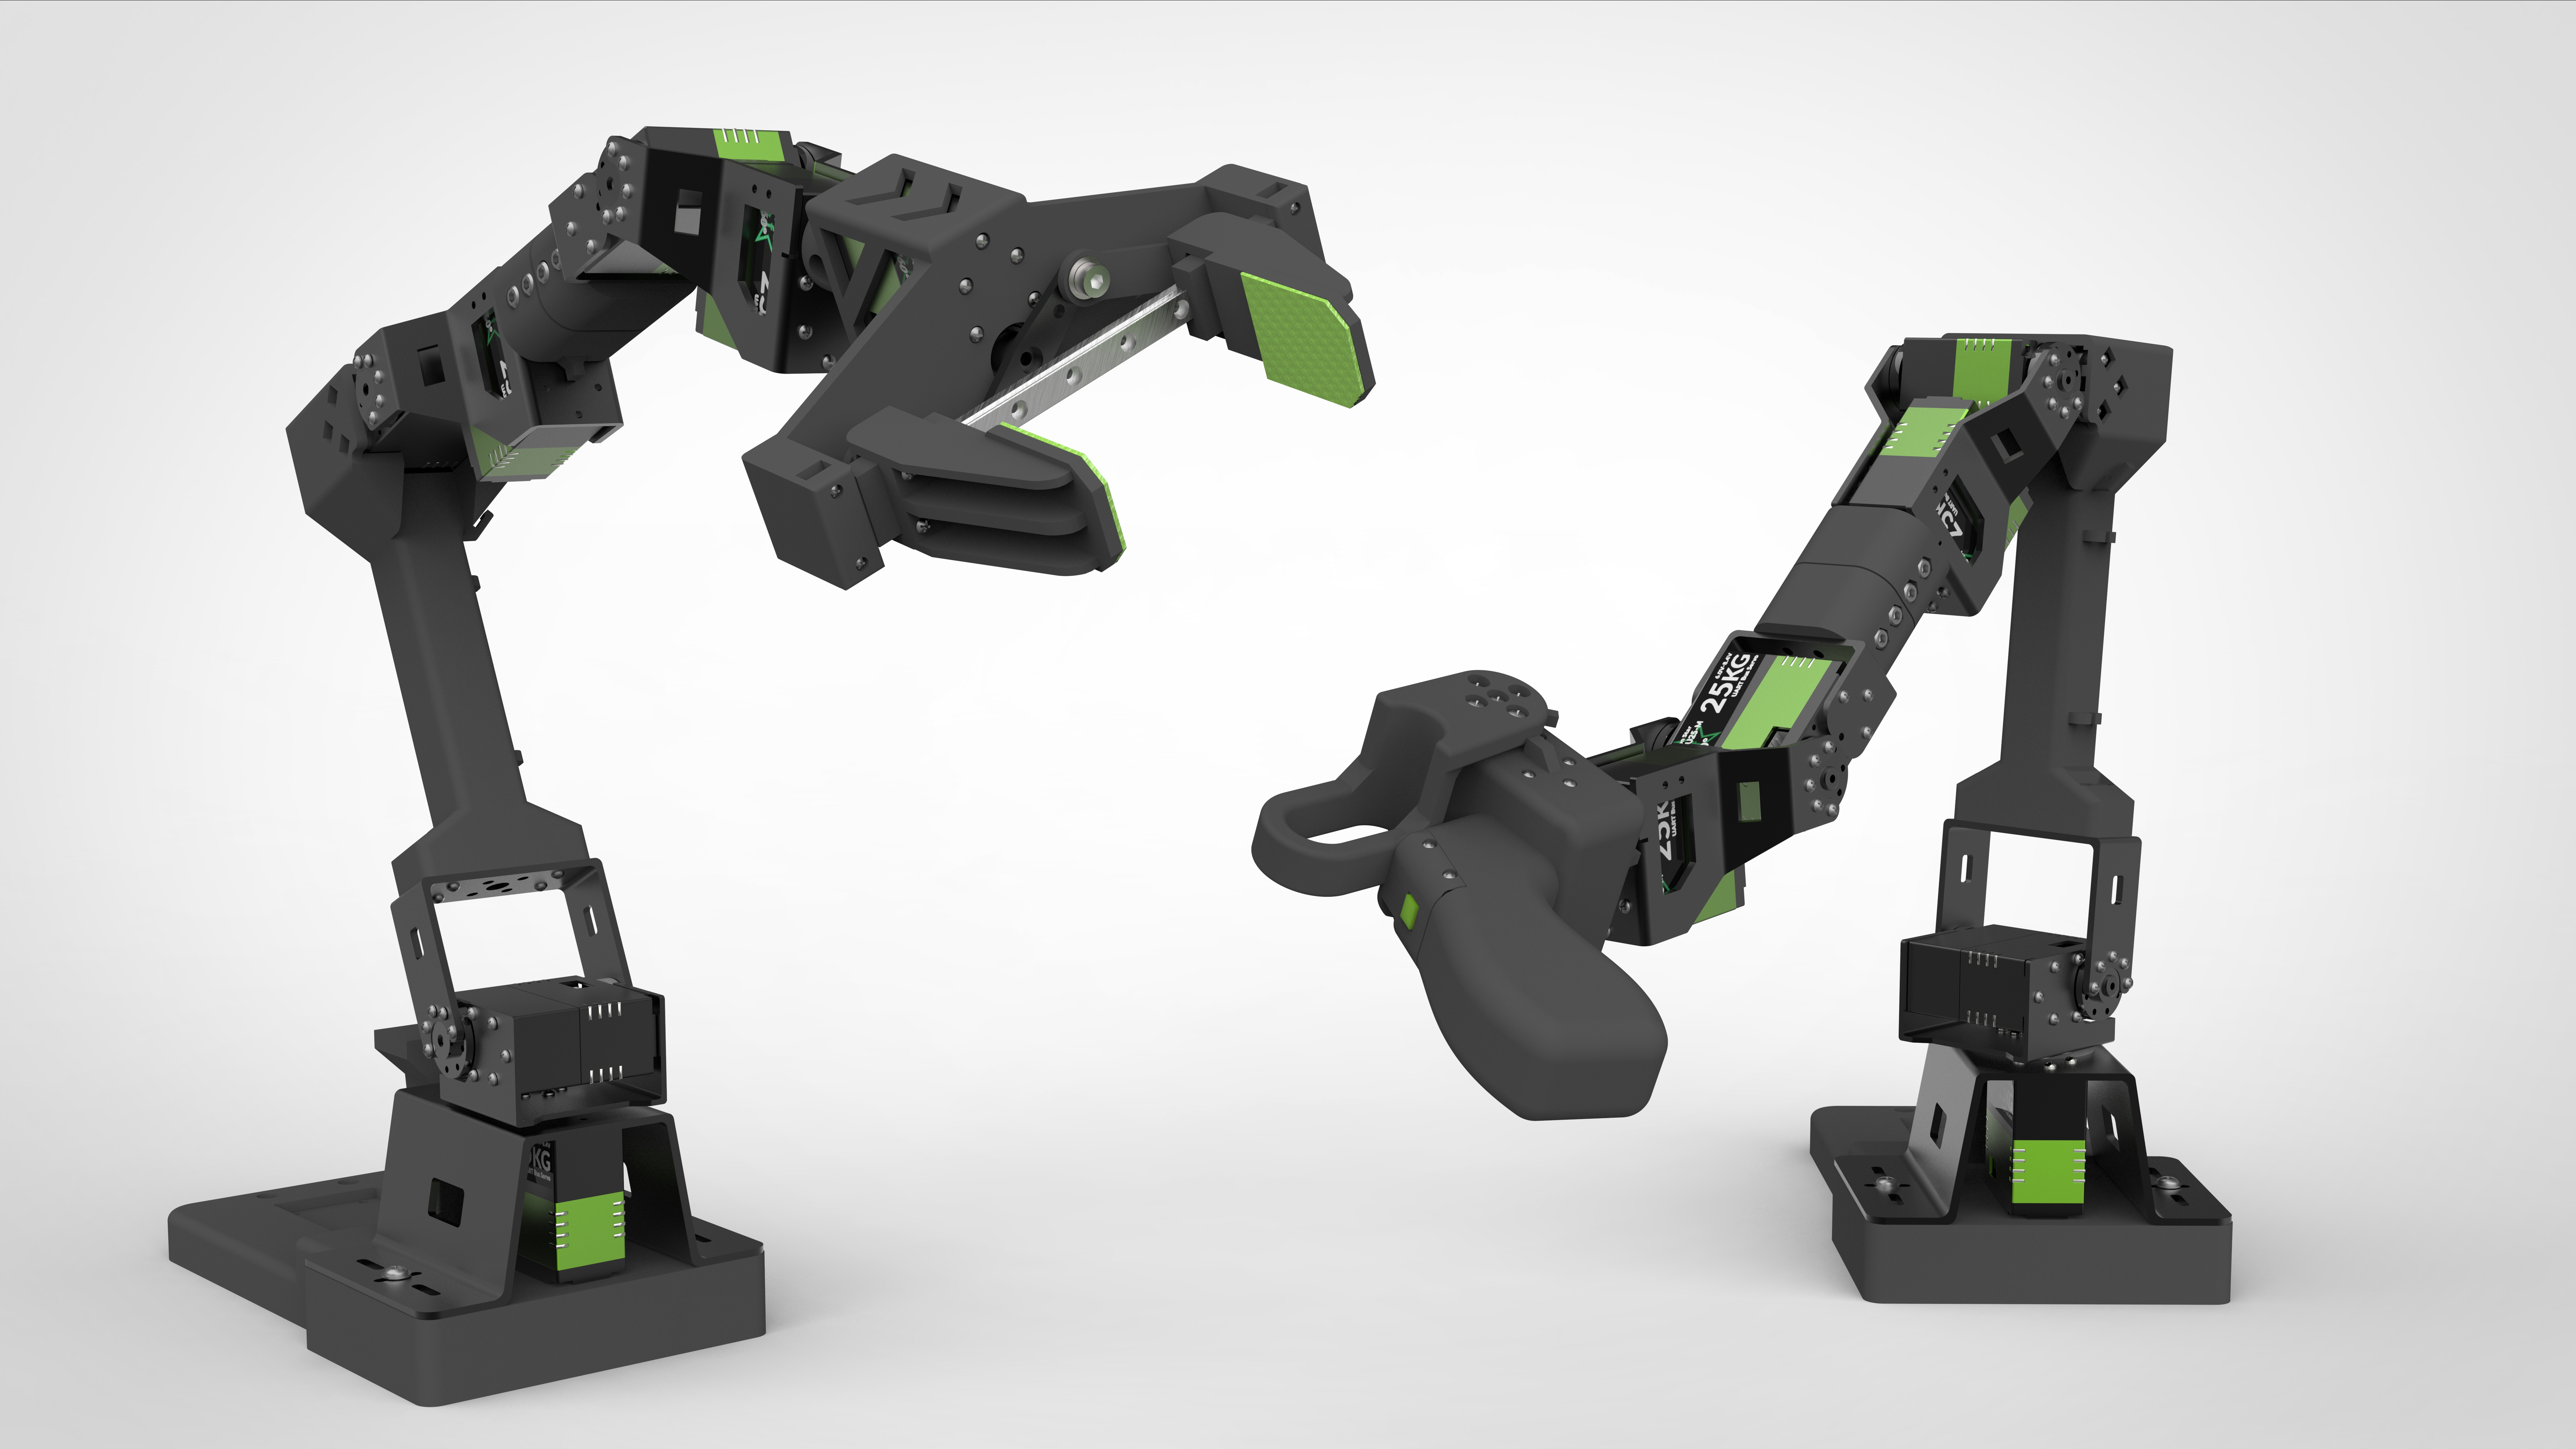
Viola is used by default. Run:
ros2 launch viola_moveit_config demo.launch.py
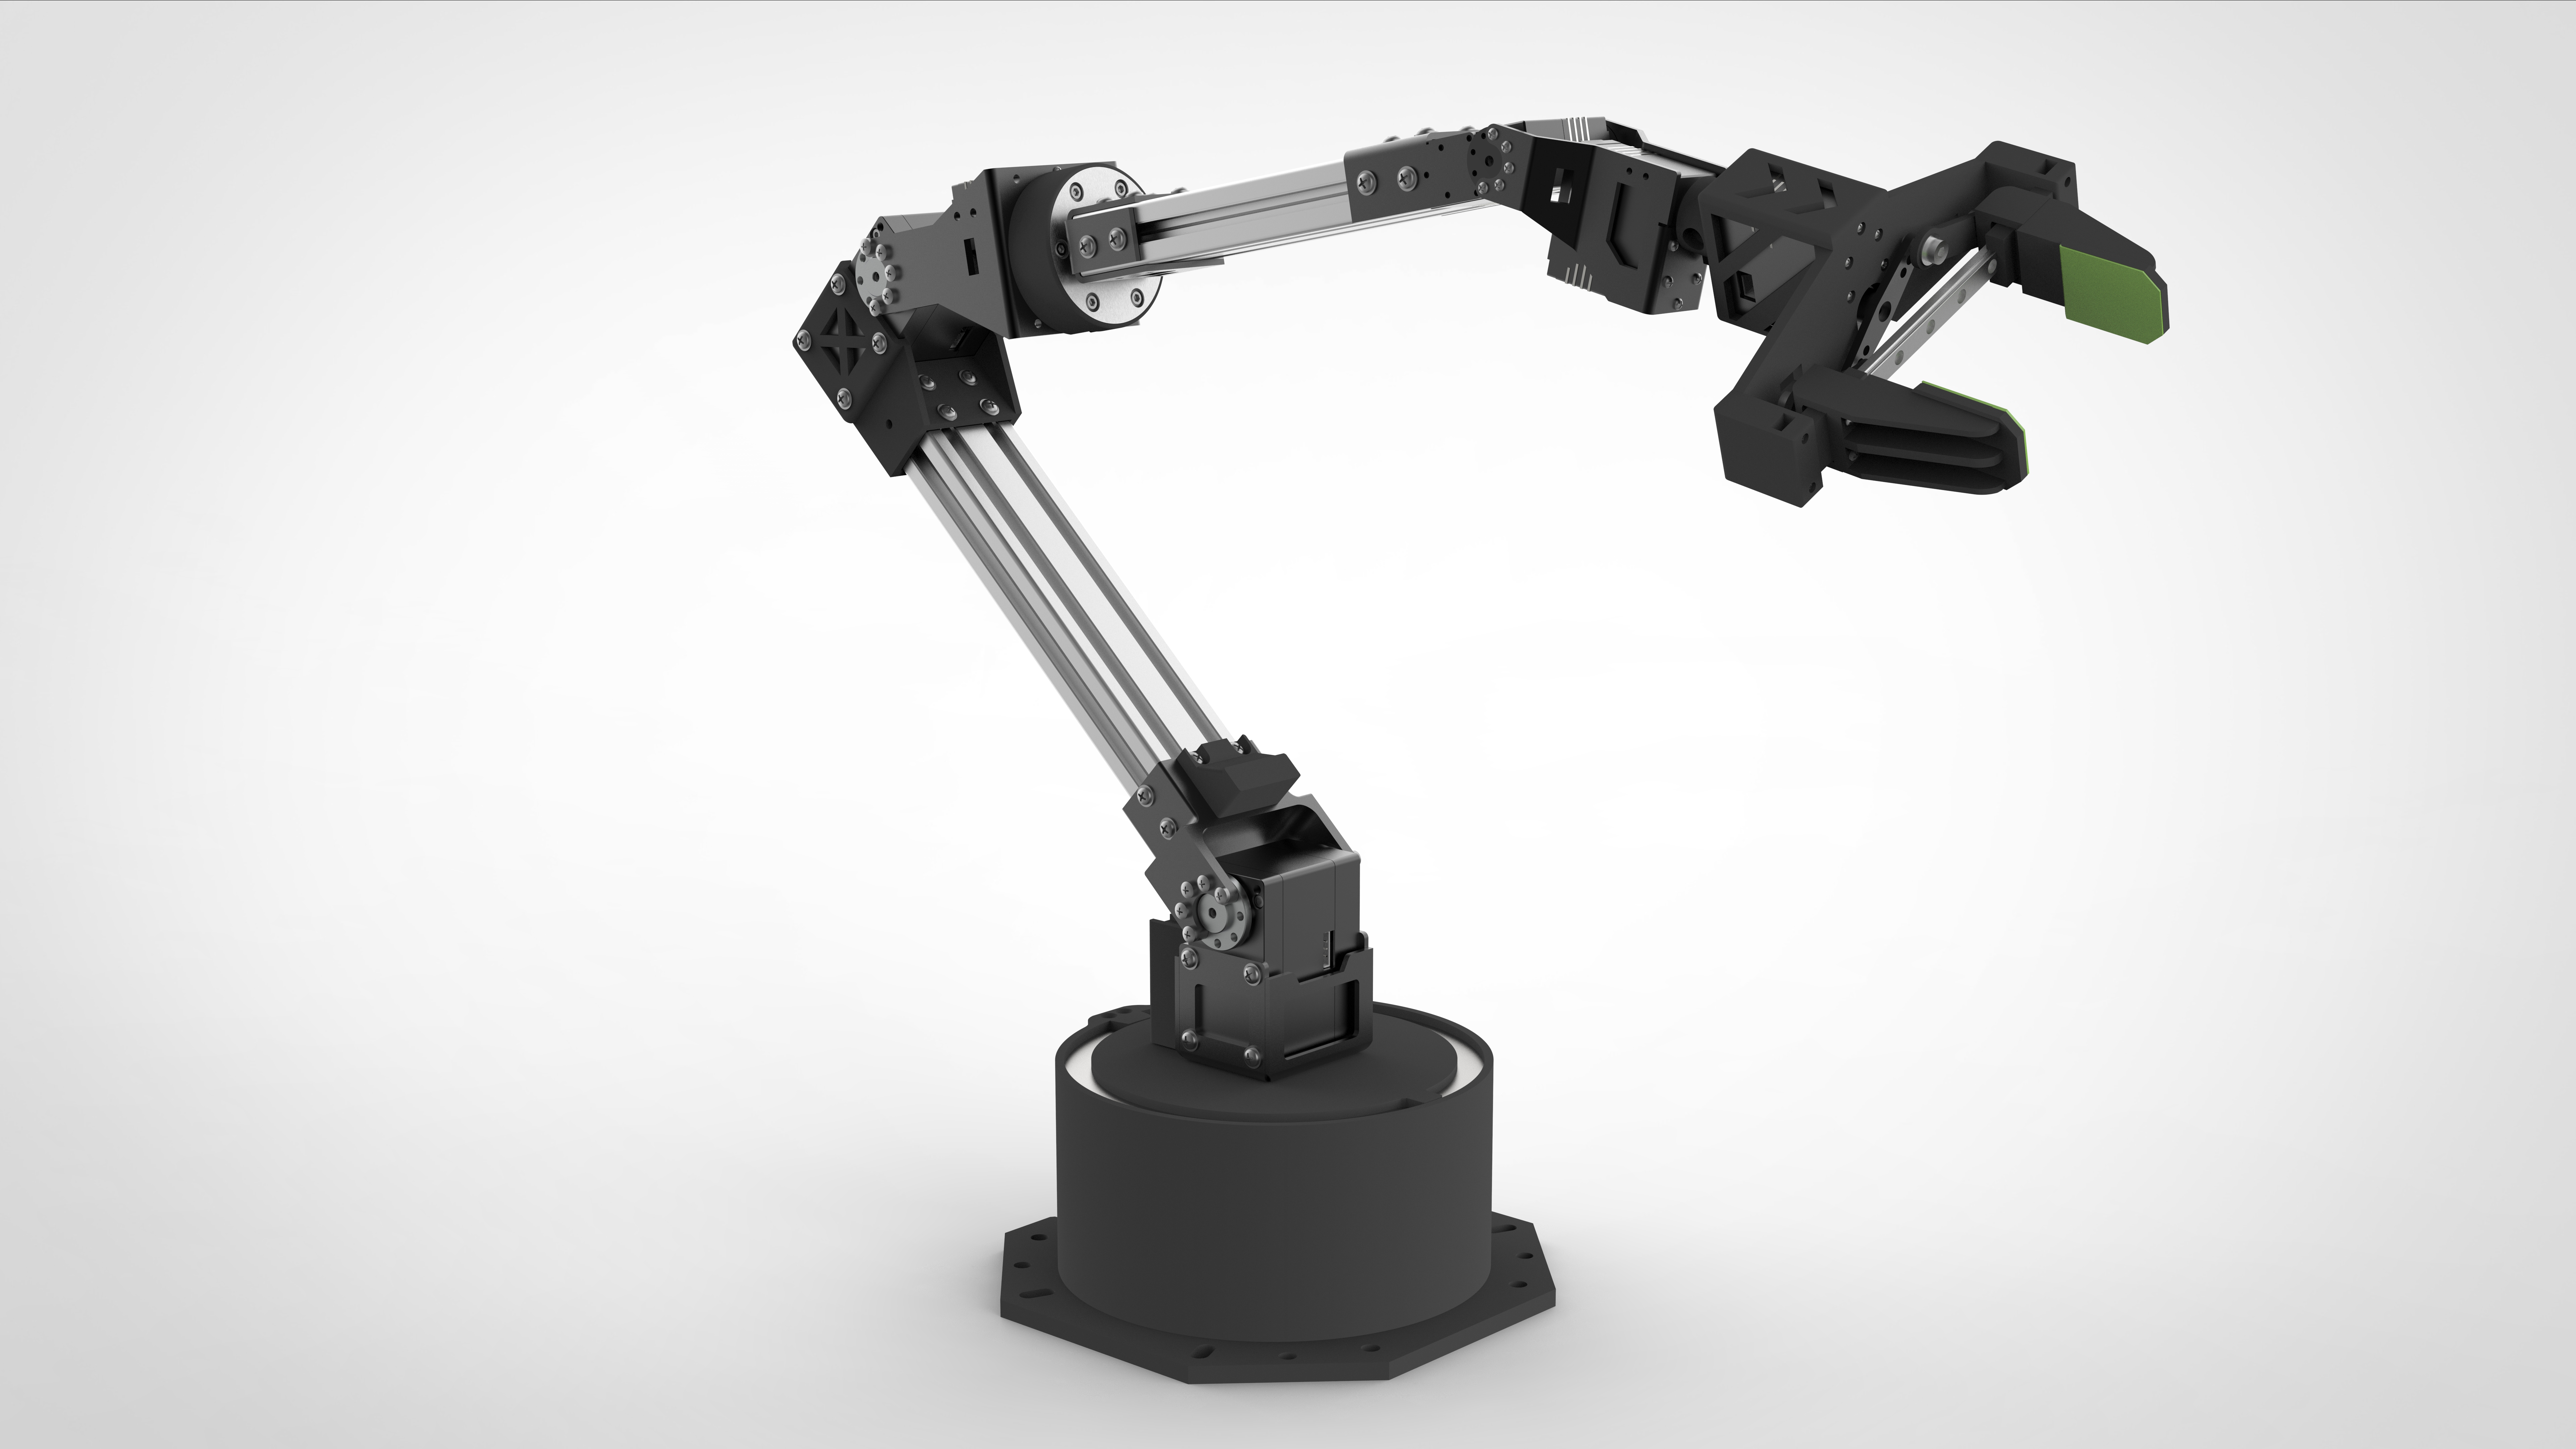
To switch to Cello, expand the corresponding command below:
Cello
ros2 launch cello_moveit_config demo.launch.py
2.2 Using the Real Robotic Arm (Hardware Connected)
This mode connects to the real robotic arm and runs the physical control workflow. Before proceeding, confirm that the robotic arm is powered correctly, communication is normal, and the surrounding space is safe.
Terminal 1: Start the hardware driver (the robotic arm will return to the zero position)
Viola is used by default. Run:
ros2 launch viola_moveit_config driver.launch.py
To switch to Cello, expand the corresponding command below:
Cello
ros2 launch cello_moveit_config driver.launch.py
Terminal 2: Start the MoveIt2 physical-control interface
Viola is used by default. Run:
ros2 launch viola_moveit_config actual_robot_demo.launch.py
To switch to Cello, expand the corresponding command below:
Cello
ros2 launch cello_moveit_config actual_robot_demo.launch.py
After completing the two steps above, you can control the real robotic arm through the MoveIt2 interface.
The following Terminal 3 / Terminal 4 steps are optional and should be run only when you need end-effector pose read/write or topic sending tests.
End-effector pose read/write example (optional)
Terminal 3: Start the end-effector pose read/write example
Viola is used by default. Run:
ros2 launch viola_moveit_config moveit_write_read.launch.py
To switch to Cello, expand the corresponding command below:
Cello
ros2 launch cello_moveit_config moveit_write_read.launch.py
Pose topic sending node example (optional)
Modify the file:
src/arm_moveit_write/src/topic_publisher.cpp
    // viola
    // dataset1_ = {
    //   {0.35, -0.00, 0.23},       // position
    //   {-0.499, 0.500, -0.500, 0.500}, // orientation
    //   "open"                         // gripper_state
    // };
    // dataset2_ = {
    //   {0.15, -0.00, 0.299},        // position
    //   {0.500, -0.500, 0.500, -0.499},   // orientation
    //   "close"                        // gripper_state
    // };

    // cello
    dataset1_ = {
      {0.278, 0.000, 0.438},       // position
      {-0.506, 0.507, -0.496, 0.491}, // orientation
      "open"                         // gripper_state
    };
    dataset2_ = {
      {0.479, -0.000, 0.369},        // position
      {-0.506, 0.507, -0.496, 0.491}, // orientation
      "close"                        // gripper_state
    };
Run Terminal 4 only when you need to publish a custom pose topic.
Terminal 4: Start the pose topic sending node
colcon build
source install/setup.sh
ros2 run arm_moveit_write topic_publisher
3. MoveIt2 Gazebo Simulation Robotic Arm
After closing the Gazebo GUI, it is recommended to run the pkill -9 -f gazebo command in the terminal to ensure that related processes have fully exited.
Before running the example, close other running nodes.
Install Gazebo:
sudo apt install gazebo
sudo apt install ros-humble-moveit*
Terminal 1: Start the Gazebo GUI
Viola is used by default. Run:
ros2 launch viola_gazebo viola_gazebo.launch.py
To switch to Cello, expand the corresponding command below:
Cello
ros2 launch cello_gazebo cello_gazebo.launch.py
Terminal 2: Start the MoveIt2 interface
Viola is used by default. Run:
ros2 launch viola_moveit_config gazebo_demo.launch.py
To switch to Cello, expand the corresponding command below:
Cello
ros2 launch cello_moveit_config gazebo_demo.launch.py
4. Robotic Arm Teaching Mode
When you need to record a trajectory again, delete the record-test folder or use a new dataset name, such as record-test1.
Terminal 1: Start the arm hardware driver (teaching mode)
ros2 run robo_driver driver --ros-args -p lock:='disable'
Terminal 2: Record the arm trajectory
Press Enter to start recording, and press Enter again to stop recording. You can specify the save path with the dataset parameter.
ros2 run ros2_bag_recorder bag_recorder --ros-args -p dataset:=star/record-test
Terminal 3: Replay the trajectory
ros2 bag play ./star/record-test
5. FAQ
If the RViz2 interface flickers, try running the following command:
export QT_AUTO_SCREEN_SCALE_FACTOR=0