StarArm102 Robotic Arm - ROS2 MoveIt Guide
StarArm102 Manipulator - ROS2 MoveIt Guide
📋 Table of Contents
- Environment Dependencies
- Installation Guide
- Package Description
- MoveIt2 Quick Start
- Using the Virtual Robotic Arm
- Using the Real Robotic Arm
- End-Effector Pose Read/Write Example
- Pose Topic Sending Node Example
- MoveIt2-Gazebo Simulation Robotic Arm Example
- Robotic Arm Teaching Mode
- FAQ
🔧 Environment Dependencies
System Requirements
No LSB modules are available.

Distributor ID: Ubuntu
Description:    Ubuntu 22.04.5 LTS
Release:        22.04
Codename:       Jammy
ROS2:           Humble
📦 Installation Guide
1️⃣ Install ROS2 Humble
Chinese guide: ROS2 Humble Installation Guide
English guide: ROS2 Humble Installation
2️⃣ Install MoveIt2
sudo apt install ros-humble-moveit*
3️⃣ Install the Servo SDK Library
sudo pip install pyserial
sudo pip install fashionstar-uart-sdk
4️⃣ Clone the StarArm102 Packages
cd ~/
git clone https://github.com/servodevelop/Star-Arm-102.git
cd ~/Star-Arm-102/ROS2_HUMBLE
colcon build
echo "source ~/Star-Arm-102/ROS2_HUMBLE/install/setup.bash" >> ~/.bashrc
source ~/.bashrc
Note
After compilation, run the source command to make the environment variables take effect.
After compilation, run source command to make environment variables take effect.
📦 Package Description
| Package | Description |
|---|---|
robo_driver |
Robotic arm hardware driver node, responsible for communication with the servo |
stararm102_description |
Robotic arm URDF model description files |
stararm102_gazebo |
Gazebo simulation environment configuration |
stararm102_moveit_config |
MoveIt2 motion planning configuration |
stararm102_controller |
Robotic arm controller node |
arm_moveit_read |
Pose reading node example |
arm_moveit_write |
Pose writing node example |
arm_read_pose |
Real-time pose reading node |
ros2_bag_recorder |
Teaching trajectory recording and replay |
robo_interfaces |
Custom ROS2 interface definitions |
🚀 MoveIt2 Quick Start
🎮 Using the Virtual Robotic Arm
Start RViz2 for virtual robotic arm path planning and visual control.
Launch command:
ros2 launch stararm102_moveit_config demo.launch.py
After startup, you can use the RViz2 interface to:
- Use the Motion Planning panel for path planning.
- Drag interactive markers to position the end effector.
- Select Planning Group to control different joint groups.
- Click Plan to view the planned path.
- Click Execute to execute the planned trajectory.
🦾 Using the Real Robotic Arm
Connect the real robotic arm and perform physical control.
Terminal 1: Start the arm hardware driver
Important
After the driver starts, the arm will move to the zero position. Make sure there are no obstacles nearby. The arm will move to zero position after starting the driver. Ensure there are no obstacles nearby.
ros2 launch stararm102_moveit_config driver.launch.py
Tip
If a serial-related exception occurs when starting the driver, try reinstalling the system serial port library:
sudo apt install --reinstall python3-serial
Terminal 2: Start MoveIt2
ros2 launch stararm102_moveit_config actual_robot_demo.launch.py
✅ At this point, the virtual robotic arm can control the real robotic arm. At this point, you can control the real robotic arm with the virtual robotic arm.
📐 End-Effector Pose Read/Write Example
This example demonstrates how to read and write end-effector pose information for the robotic arm.
Terminal 3: Start the end-effector pose read/write example
ros2 launch stararm102_moveit_config moveit_write_read.launch.py
This example will: - Display the current end-effector pose (position and orientation) in real time. - Demonstrate how to set a target pose and execute motion. - Output joint angles and Cartesian coordinate information.
📡 Pose Topic Sending Node Example
Send a target pose through a ROS2 topic to control robotic arm motion.
Terminal 4: Start the pose topic sending node
# 运行话题发布节点
ros2 run arm_moveit_write topic_publisher
This node continuously publishes the target pose to the topic. After MoveIt2 receives it, it controls the robotic arm to move to the target position.
🎯 MoveIt2-Gazebo Simulation Robotic Arm Example
Test robotic arm control in the Gazebo physics simulation environment.
Tip
- After closing the Gazebo GUI, it is recommended to use the
pkill -9 -f gazebocommand to fully close it. - Before running the example, close all other running nodes.
- If residual processes remain, run
killall -9 gazebo gzserver gzclient ros2.
Install Gazebo
sudo apt install gazebo
sudo apt install ros-humble-moveit*
sudo apt install -y ros-humble-gazebo-ros-pkgs ros-humble-gazebo-ros
Terminal 1: Start the Gazebo GUI
ros2 launch stararm102_gazebo stararm102_gazebo.launch.py
After Gazebo starts, you will see the StarArm102 robotic arm in the simulation environment.
Terminal 2: Start the MoveIt2 Interface
ros2 launch stararm102_moveit_config gazebo_demo.launch.py
✅ You can now perform path planning in RViz2, and the robotic arm will execute motion in the Gazebo simulation environment.
🎓 Robotic Arm Teaching Mode
Record and replay the motion trajectory of the robotic arm.
Tip
- When you need to record a trajectory again, delete the
record-testfolder or create a new recording folder, such asrecord-test1. - In teaching mode, the arm driver needs to unlock the joints.
Terminal 1: Start the Arm Hardware Driver (Teaching Mode)
ros2 run robo_driver driver --ros-args -p lock:='disable'
Important
Setting the lock:='disable' parameter unlocks the joints and allows manual dragging of the robotic arm for teaching.
Setting lock:='disable' unlocks the joints, allowing manual dragging for teaching.
Terminal 2: Record the Arm Trajectory
Press Enter to start recording, and press Enter again to stop recording. Use the dataset parameter to specify the save path.
ros2 run ros2_bag_recorder bag_recorder --ros-args -p dataset:=star/record-test
Operation steps:
- After running the command, press Enter to start recording.
- Manually drag the robotic arm to the target position.
- Press Enter after completion to stop recording.
- The trajectory data will be saved to the
star/record-testfolder.
ros2 bag play ./star/record-test
The robotic arm will automatically move according to the recorded trajectory.
Tip
If the recording path already exists, delete the old path rm -rf star/record-test, or use a new path such as dataset:=star/record-test2.
📊 Joint Configuration
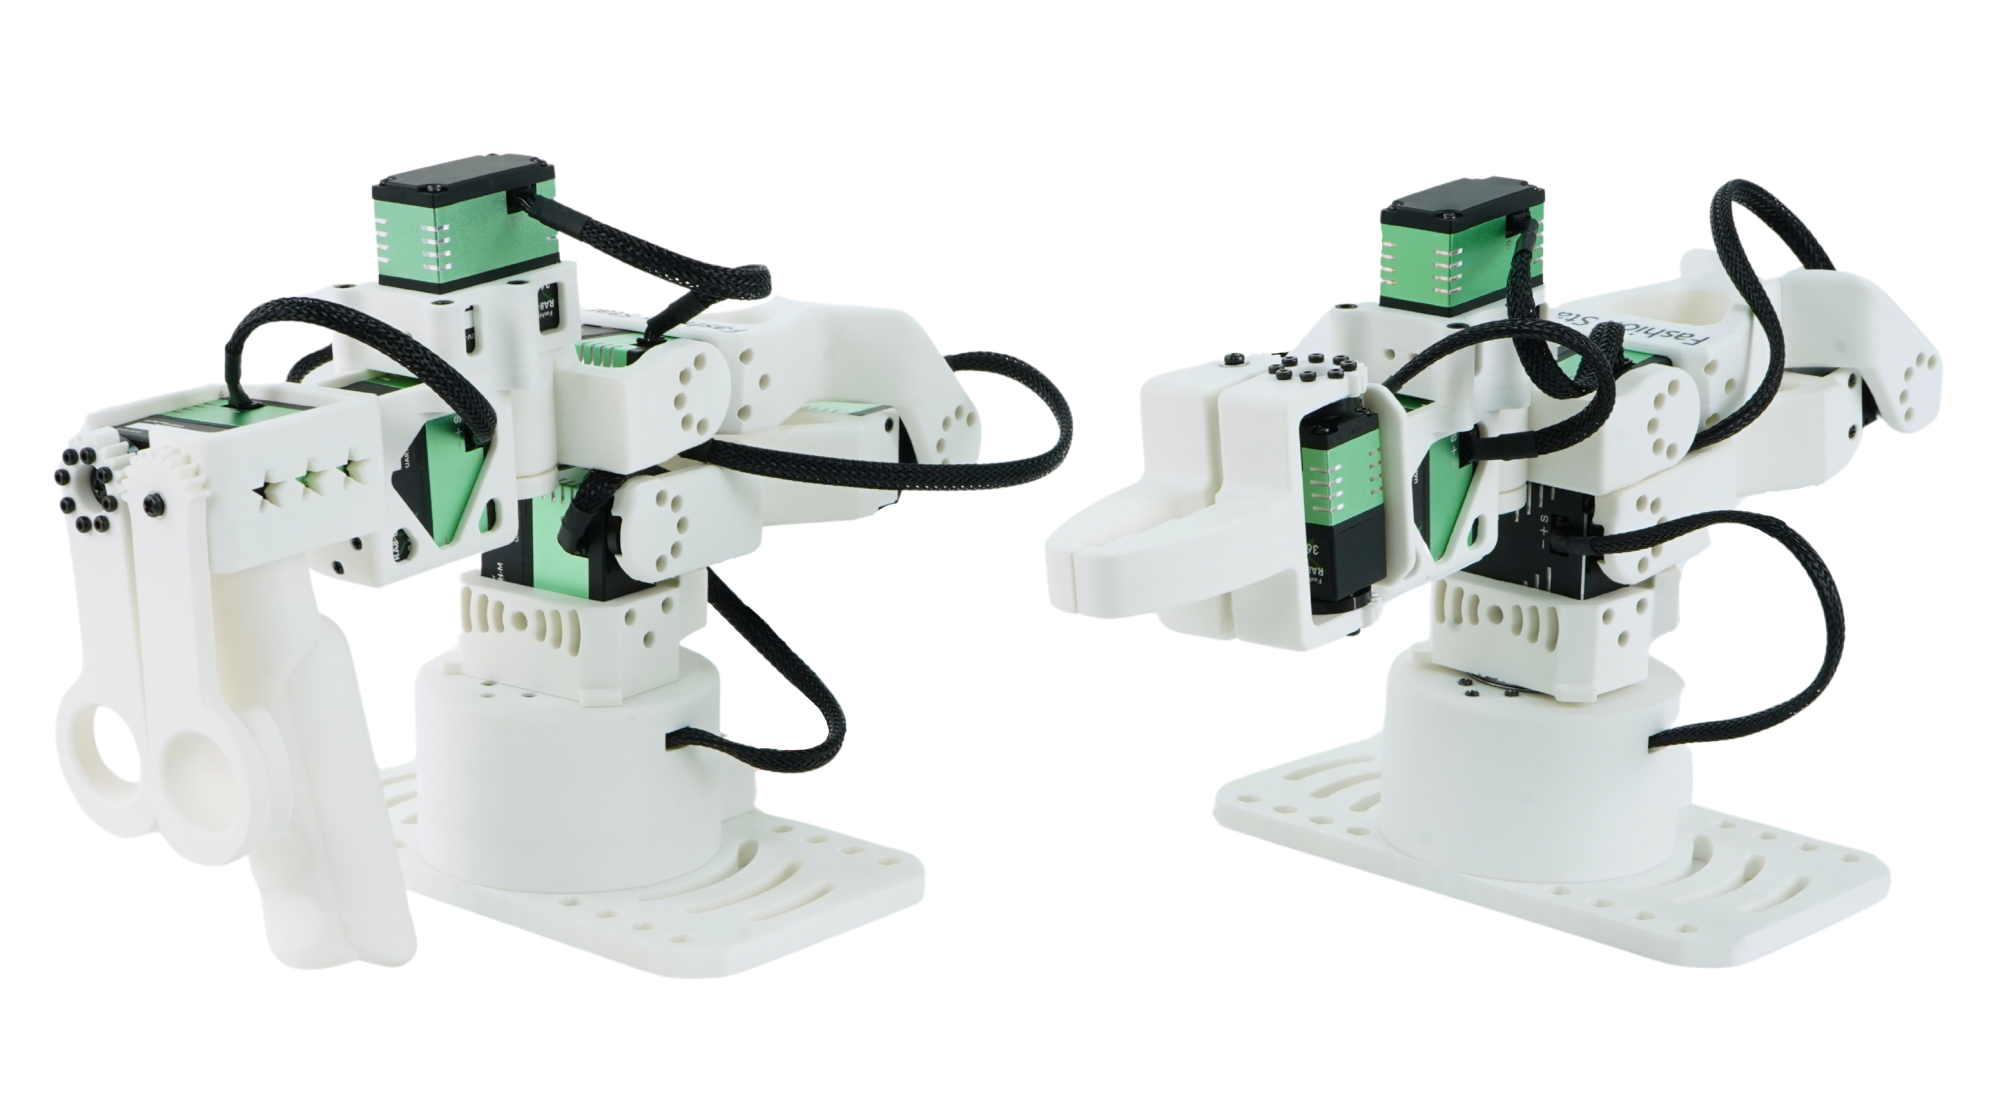
StarArm102 uses a 6-DOF robotic arm plus a rotating gripper:
| Joint | Type | Angle Range | Description |
|---|---|---|---|
| Joint1 | revolute | -110° ~ 110° | Base rotation |
| Joint2 | revolute | 0° ~ 180° | Shoulder pitch |
| Joint3 | revolute | 0° ~ 270° | Elbow pitch |
| Joint4 | revolute | -90° ~ 90° | Wrist rotation |
| Joint5 | revolute | -65° ~ 65° | Wrist pitch |
| Joint6 | revolute | -150° ~ 150° | Wrist yaw |
| joint7_left | revolute | 0° ~ 90° | Rotating gripper (active) |
| joint7_right | revolute | -90° ~ 0° | Rotating gripper (linked) |
📝 Rotating gripper note:
joint7_rightis a mimic joint and automatically synchronizes in the opposite direction withjoint7_left.
❓ FAQ
RViz2 Interface Flickering
If the RViz2 interface flickers, try the following command:
export QT_AUTO_SCREEN_SCALE_FACTOR=0
Then restart RViz2.
Gazebo Cannot Start
If Gazebo fails to start, first check whether residual processes exist:
killall -9 gazebo gzserver gzclient 2>/dev/null || true
Then run the launch command again.
Compilation Errors
If errors occur during compilation, make sure that:
- All dependencies are installed:
sudo apt install ros-humble-moveit* - The ROS2 environment has been sourced correctly:
source /opt/ros/humble/setup.bash - You are compiling in the correct directory:
cd ~/Star-Arm-102/ROS2_HUMBLE
Robotic Arm Cannot Connect
If the robotic arm cannot connect, check:
- Whether the USB serial port connection is normal
- Whether serial port permissions are correct:
sudo chmod 666 /dev/ttyUSB0 - Whether the servo SDK is installed correctly
Teaching Trajectory Replay Is Abnormal
If the robotic arm moves abnormally during teaching trajectory replay:
- Check whether the URDF configuration is correct.
- Confirm the mimic configuration of
joint7_leftandjoint7_right. - Check whether the joint_states topic data is correct.
📞 Technical Support
If you encounter problems, visit:
- GitHub repository: Star-Arm-102
- Submit an Issue for help